PART IIIFirst access
CHAPTER 8
Connecting to your Wi-Fi network
Freshly powered on, the Aquarino Controller does not yet know your network. So it creates a Wi-Fi network of its own, called Aquarino, for you to join and hand over the credentials. The whole process takes a few minutes.
8.1 Before you start
- The equipment must be powered on, with the green Wi-Fi LED blinking — the sign that the Aquarino network is on the air;
- Have your Wi-Fi network name and password at hand;
- Confirm that your network is 2.4 GHz — the equipment does not connect to 5 GHz networks;
- Have an e-mail address you actually check: it will be the link between the equipment and you.
8.2 Step by step
- On your phone or notebook, open the Wi-Fi settings and join the Aquarino network. It has no password and no internet — when the device warns you, choose to stay connected.
- Open the browser and type the address http://192.168.0.1. The Local Manager home screen appears.
- Open the System menu. In the User E-Mail field, enter your e-mail address and save. The equipment will be bound to that e-mail as its owner, and that is where the alerts go.
- In the Device Name field, give your equipment a name — up to 10 characters, no spaces. Example:
MyReef. It is the name that identifies the equipment in support and in the app. - Still in System, tap Wifi Settings. Wait for the scan, select your network from the list, enter the password and tap Save.
- The equipment restarts and joins your network. At the end, the beep sounds and the green LED stays solid — connected. The blue LED lit means there is internet too.
8.3 The welcome e-mail
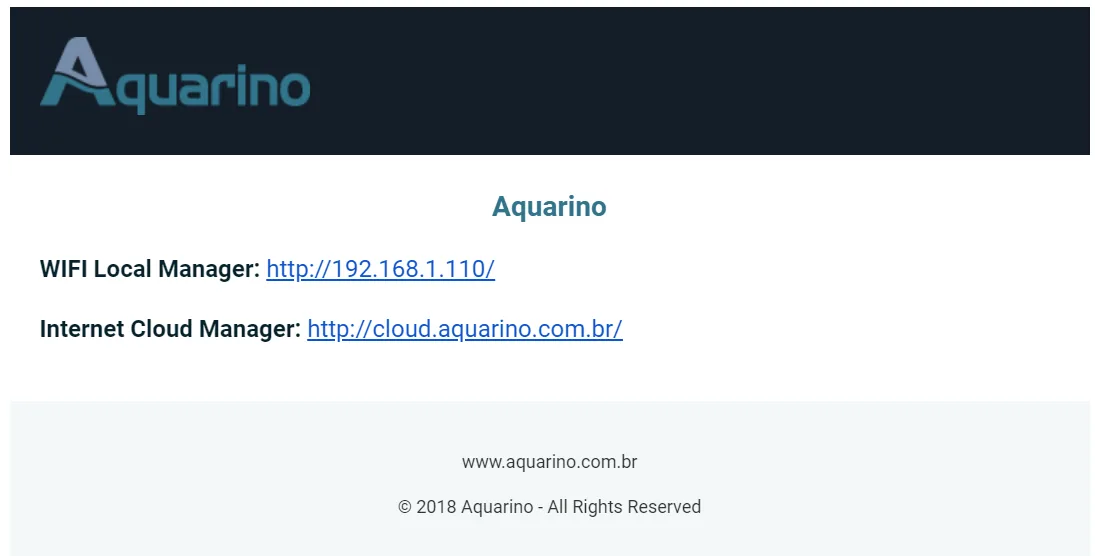
Once online, the equipment sends your e-mail the access instructions: the address of the Local Manager (its IP on your network) and the cloud access address. Keep that e-mail — and if the IP ever changes, a new notice arrives on its own.
8.4 Requirements for your network
| Requirement | Detail |
|---|---|
| 2.4 GHz only | If your router is dual-band, use the 2.4 GHz band — on many models it is enough to create a separate network name for it |
| Name without special characters | Avoid spaces and accents in the network name (SSID), as per RFC 1738. If necessary, rename the network on the router |
| Reasonable signal where the equipment sits | Networks with a very weak signal (below −75 dBm) do not appear in the list. Weak signal is the most common cause of dropouts after installation |
| 20 MHz channel, B/G/N mode | Routers in mixed channel-width mode (20/40 MHz) can cause random disconnections. Fix it at 20 MHz if you notice dropouts |