Calibrating the sensors
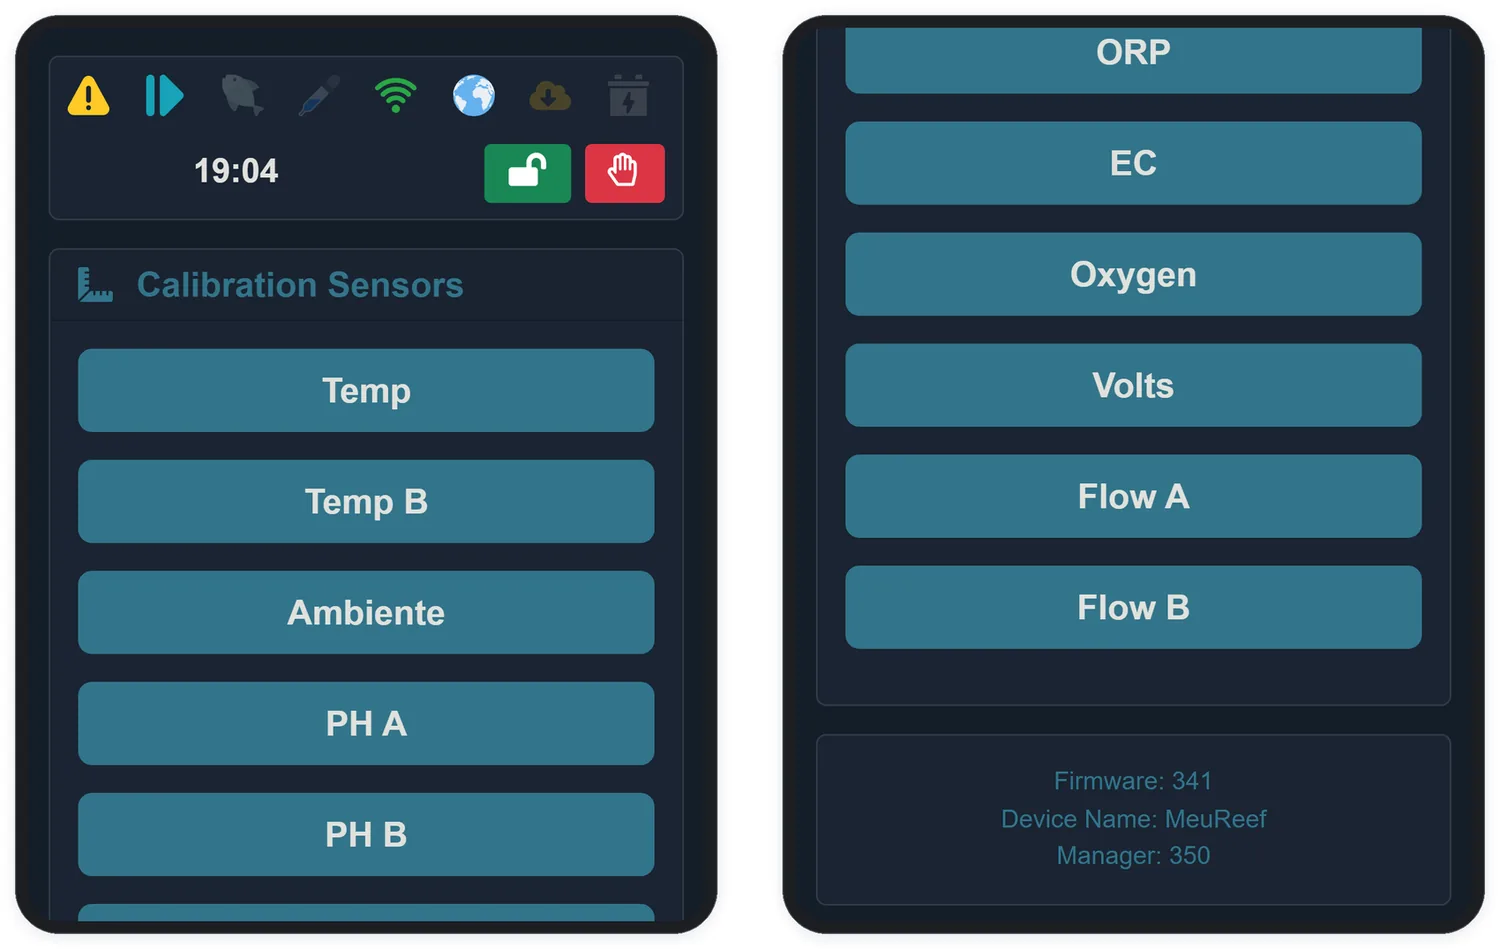
All the automation decides on top of what the sensors say — and a good sensor is a calibrated sensor. The calibration centre lives in System → Calibration: one button per calibratable sensor, each with the step-by-step right on its screen.
20.1 pH
Use two solutions, the closest to the range you want to measure: for pH above 7.0 (a marine aquarium), the 7.0 and 10.0 solutions; for pH below 7.0, the 4.0 and 7.0 solutions.
- Start with the low point: place the temperature sensor and the pH probe in the first solution and wait 5 to 10 minutes to stabilise.
- Set the solution's value in the field and tap Calibrate Low Point.
- Rinse the probe under running water, immerse it in the second solution, and wait again.
- Set the value and tap Calibrate High Point.
The screen shows the live reading — and, on Aquarino probes, also the slope, the probe's health indicator.
20.2 ORP
ORP accepts a single-point calibration — the high point — with a 225 mV or 400 mV solution. Immerse the probe, wait 5 to 10 minutes, enter the value and calibrate. If you want more accuracy, do two points, starting with the low one.
20.3 Conductivity (EC)
Use two solutions: 12,880 µS/cm for the low point and 53,000 µS/cm for the high point — the ideal pair for marine water. The procedure is the same as for pH: temperature sensor alongside, 5 to 10 minutes of stabilisation per point, running water between one solution and the next.
20.4 TDS
Use 84 µS/cm for the low point and 1,413 µS/cm for the high point — the right pair for monitoring reverse-osmosis water. Same ritual as EC.
20.5 Oxygen (SAT/DO)
The simplest one: leave the probe exposed to the air for 5 to 10 minutes and tap Calibrate High Point. Air is the 100% saturation reference.
20.6 Temperature
Temperature sensors calibrate by offset: place a reference thermometer in the water, wait for it to stabilise, and adjust the difference (−1.0 to +1.0 °C) until the readings match.
20.7 Flow
Calibrating the flow sensor means choosing the model: select yours (DN15, DN20, DN25, DN32, DN40) and the correct factor is applied. Afterwards, if you want, fine-tune the factor against a real measurement.
20.8 Failover (voltage)
- Keep the Failover's network cable connected to the hub and disconnect the module's power cable. Wait 5 minutes and calibrate the low point as zero.
- Reconnect the power and calibrate the high point with your mains voltage (110 to 240 V) — if you have a multimeter, use the measured value.