Temperature, flow, leak and level sensors
The sensors in this chapter connect to the labelled USB ports on the hub. Installation always follows the same ritual — power off, connect, power on, check — so it is summarised only once:
6.1 Temperature (TEMP ports)
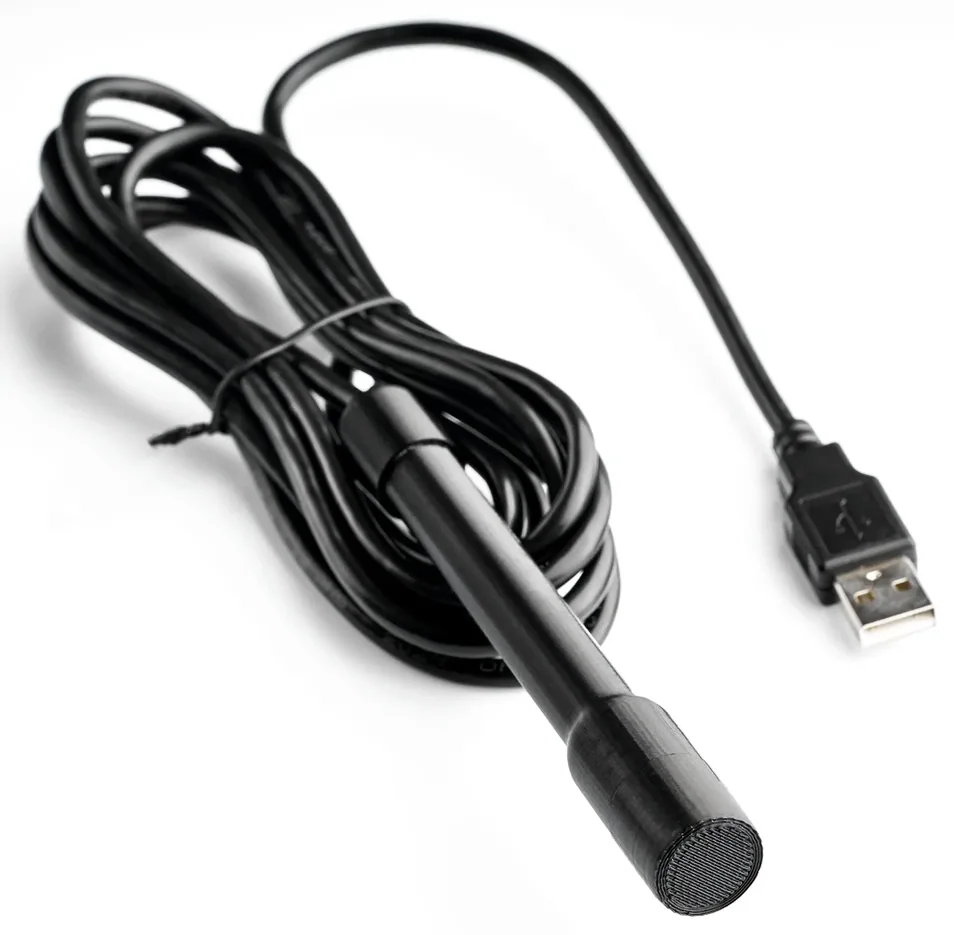
Monitoring temperature is the most basic need of any aquarium, and the kit already includes a category A sensor. The three TEMP ports accept sensors from categories A, B and C:
- Sensors of the same category are automatically averaged — useful in large aquariums, to read the temperature at more than one point and work with the mean.
- Sensors of different categories appear as independent readings (Temp A, Temp B, Temp C) — for example: aquarium, sump and room.
| Characteristic | Value |
|---|---|
| Resolution | 12 bits — 0.0625 °C |
| Update | Every 60 seconds |
| Categories | A, B and C |
6.2 Flow (FLOW A and B ports)
Flow sensors measure the flow in your plumbing: the actual return flow, or the ideal flow through the chiller or the UV filter. Use the model that matches your pipe diameter:
| Model | Maximum flow |
|---|---|
| DN15 | 30 L/min — 1,800 L/h |
| DN20 | 60 L/min — 3,600 L/h |
| DN25 | 120 L/min — 7,200 L/h |
| DN32 | 120 L/min — 7,200 L/h |
| DN40 | 200 L/min — 12,000 L/h |
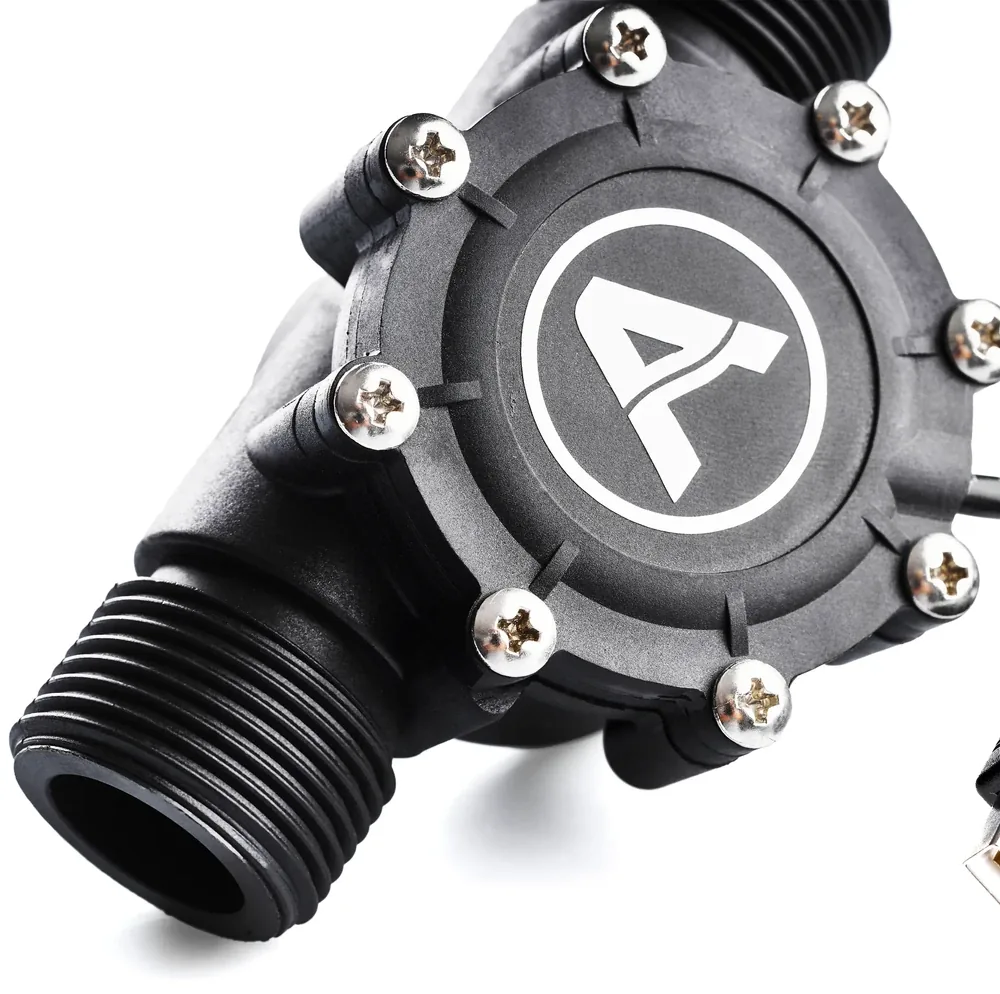
After connecting, set the model in System → Calibration → Flow (Chapter 20) and check the reading on the Sensors screen.
6.3 Leak detection (LEAK A and B ports)
Every aquarist's nightmare is a silent leak. The two LEAK ports let you monitor two separate spots — for example, the cabinet floor and the sump area.
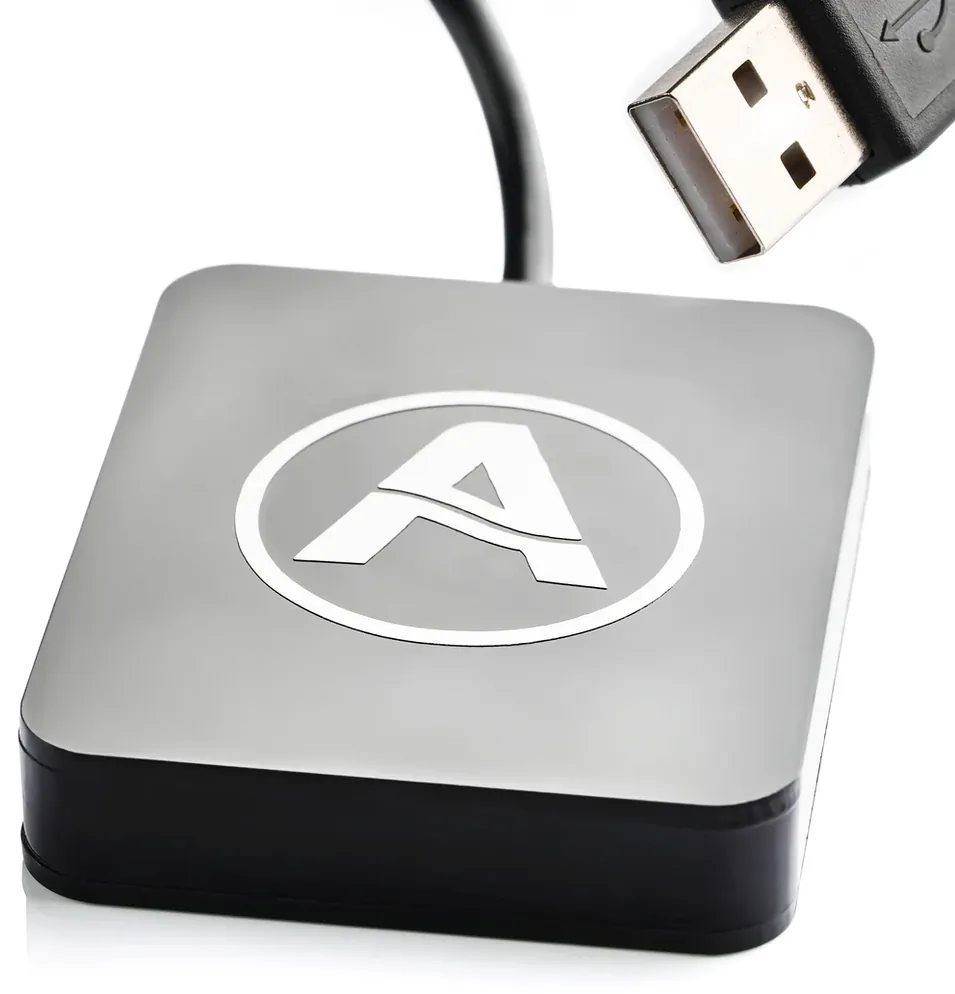
- Install it with the metal face down, flush with the floor.
- Choose the spot considering the slope of the floor — that is where the water runs.
- To test it, touch the metal part with a wet fingertip and check the alert on the Sensors screen.
6.4 MAG magnetic level sensor (LEVEL A and B ports)
The MAG level sensor detects water through the glass, without touching it — ideal for monitoring the overflow level or the top-off reservoir with nothing inside the water.
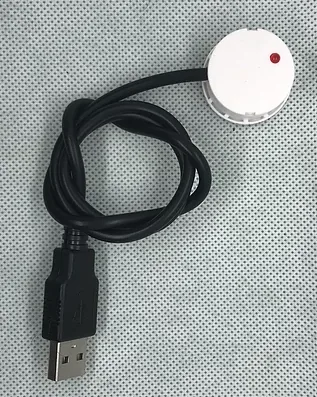
- Suited to glass up to 5 mm thick (adjustable up to 10 mm).
- 40 cm cable — use the USB extender, up to a maximum of 5 metres.
- Connect it to the LEVEL A or LEVEL B ports.
6.5 Optical level sensor (LEVEL C and D ports)
The optical sensor is the precision one: it detects the level at an exact point, ideal for controlling evaporation top-off in the sump or the balling reservoir.
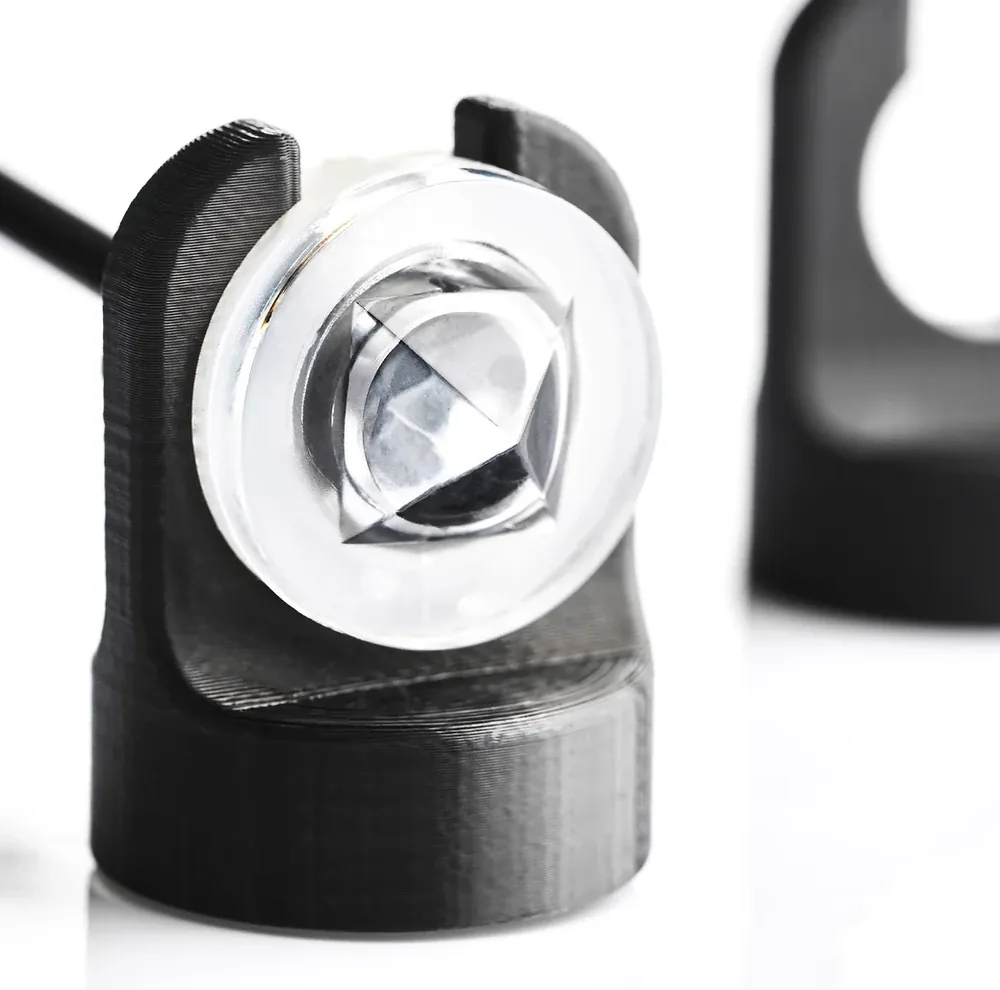
- 3-metre cable, with a magnetic holder included.
- With a USB extender, a maximum total length of 5 metres.
- Connect it to the LEVEL C or LEVEL D ports.