Download PDF
Aquarino KH — User Manual · Printed from manual.aquarino.com.br/en/kh/4-where-and-how-to-install/
Where and how to install
4.1 Where to install
Place the Aquarino KH on a flat, dry, easily reached surface intended for electronic equipment. You will come back to this spot for maintenance — leave room to open the lid comfortably.
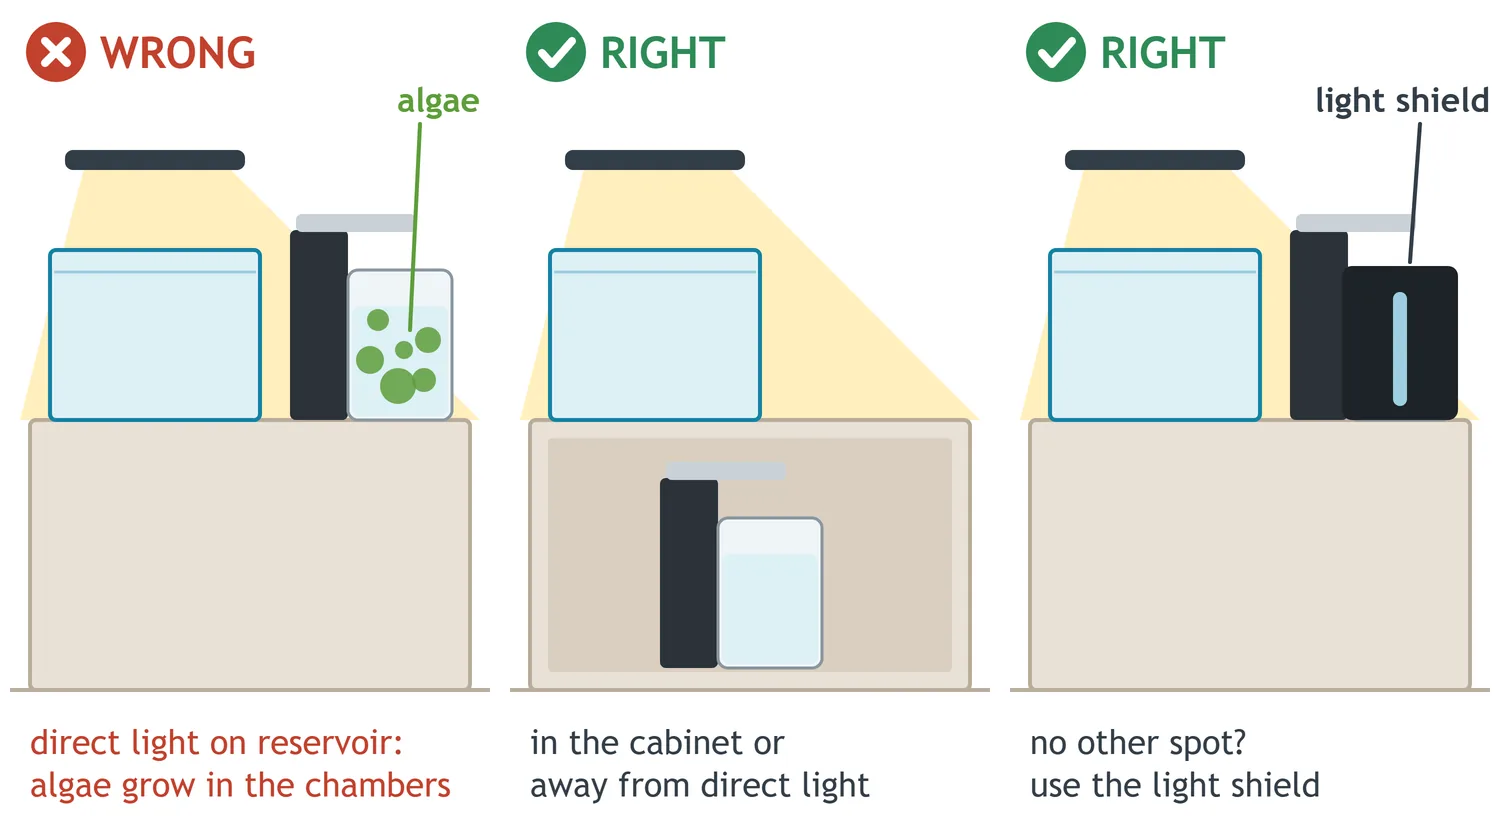
Avoid these four places, because all of them degrade measurement quality:
| Avoid | Why |
|---|---|
| Under aquarium lighting or direct sunlight | Algae grow inside the chambers and change readings over the weeks |
| Near a chiller or any heat source | A sharp temperature swing during the cycle affects accuracy |
| Over the water line or anywhere it gets wet | This is electronic equipment; constant splashing shortens its life |
| A room with no ventilation at all | Very still air increases the spread between measurements |
4.2 Connecting the sampling hose
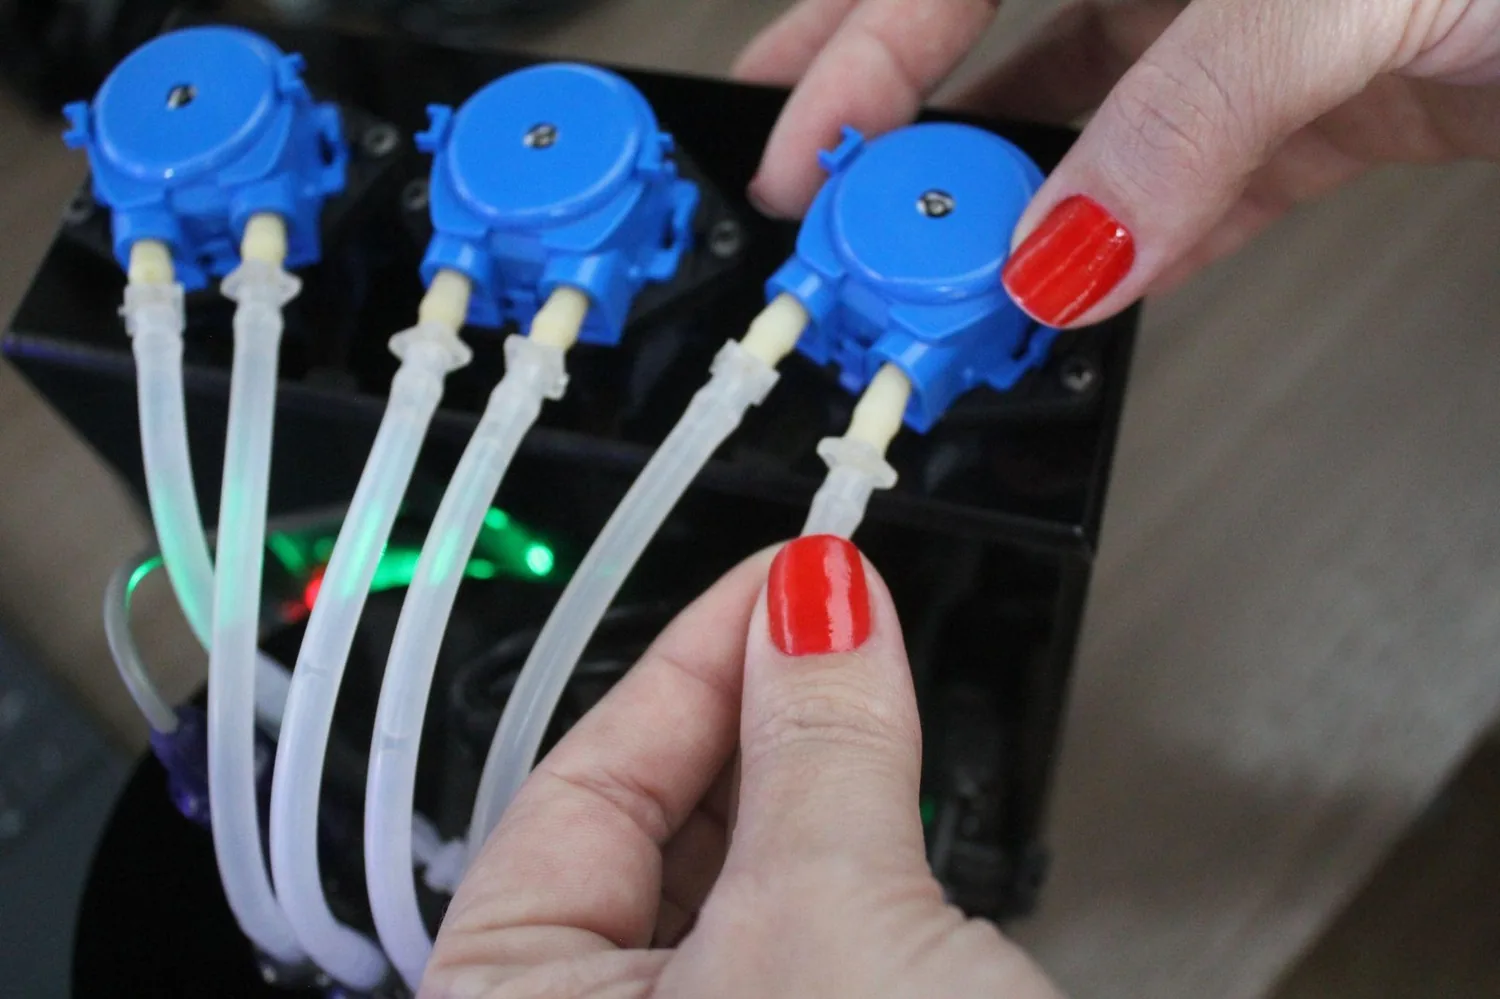
- Connect the silicone hose to the Aquarino KH, on the right-hand fitting of the Tank dosing pump.
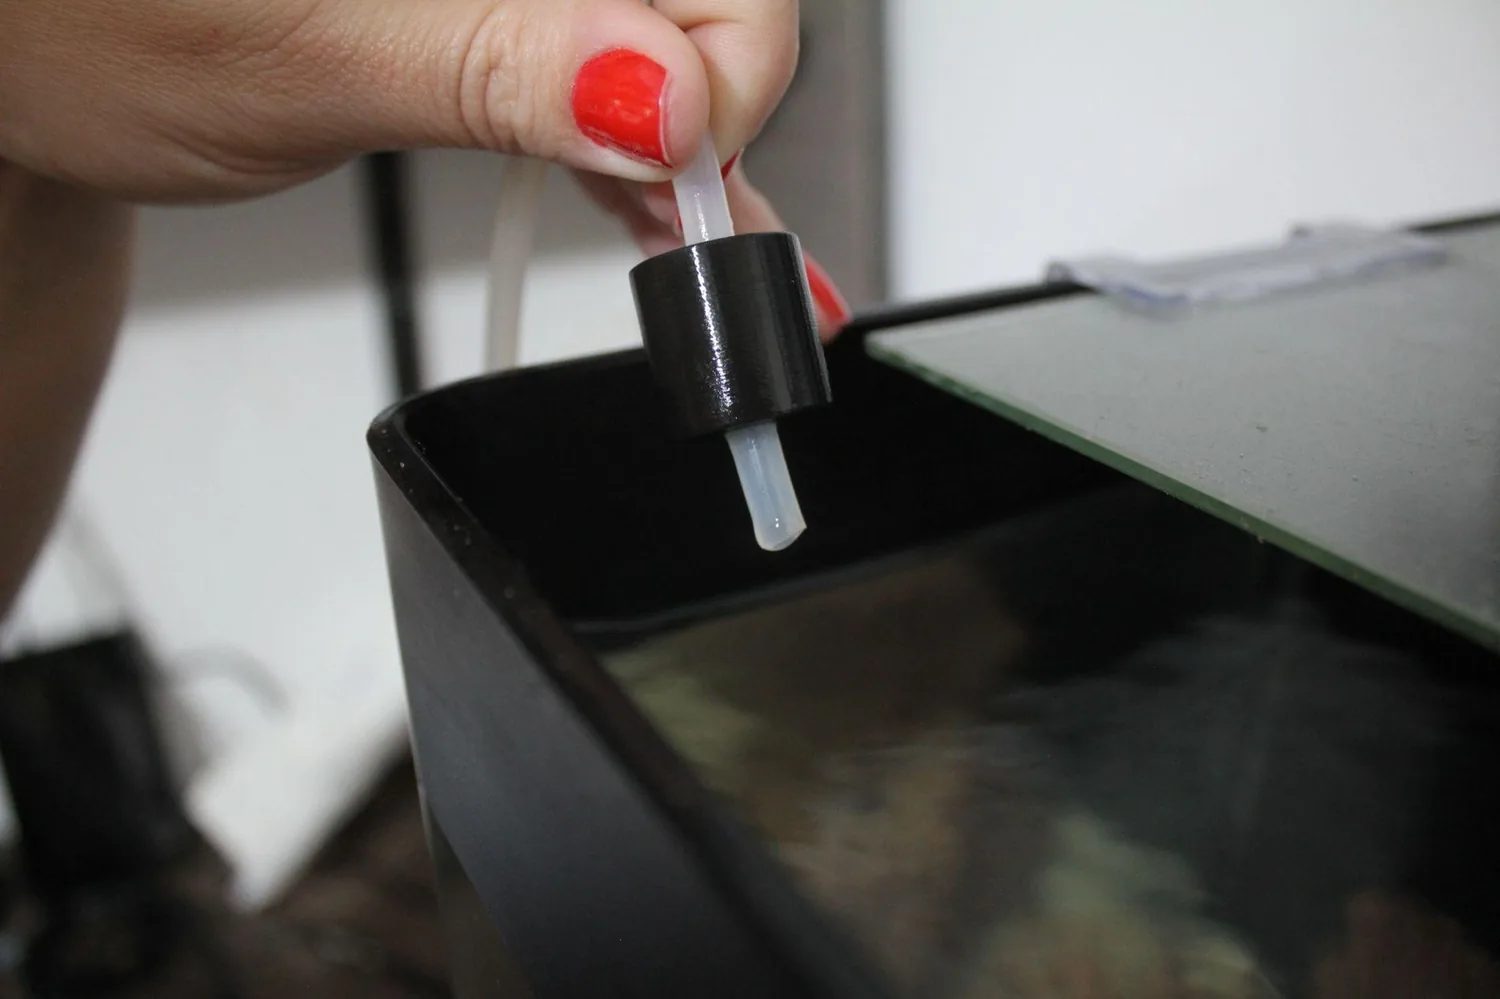
- Run the other end to your sump or aquarium. The sinker supplied with the hose keeps the tip submerged.
Where to leave the hose tip
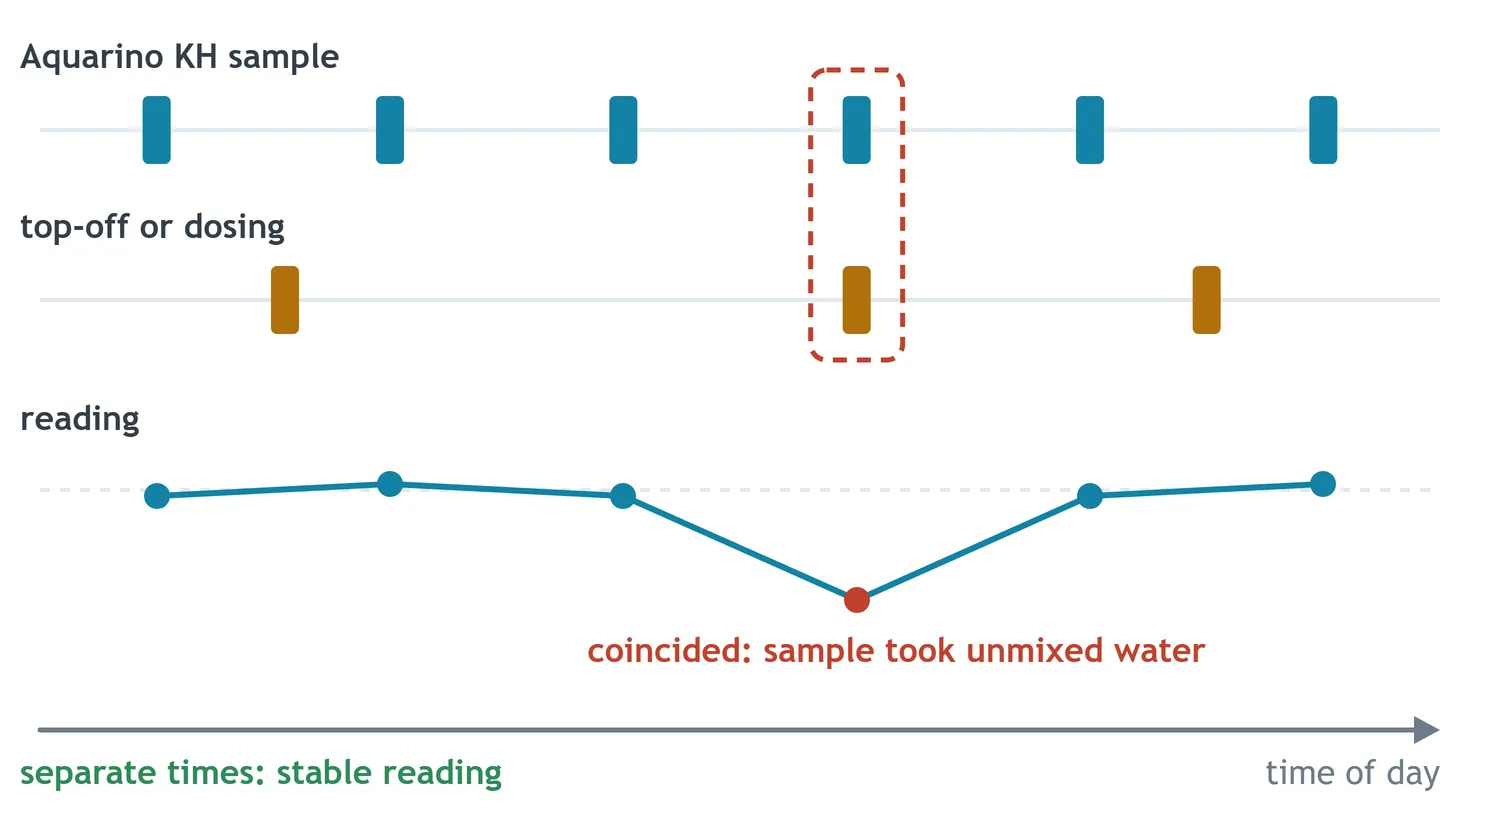
Every sump has a direction of water flow: water arrives from the aquarium, passes through the chambers and goes back through the return pump. The points where something enters the system usually sit along that path — the dosing pump outlets, the reverse-osmosis top-off that makes up for evaporation, and the calcium reactor outlet. Right after these points, and close to them, the water has not yet mixed with the rest of the system.
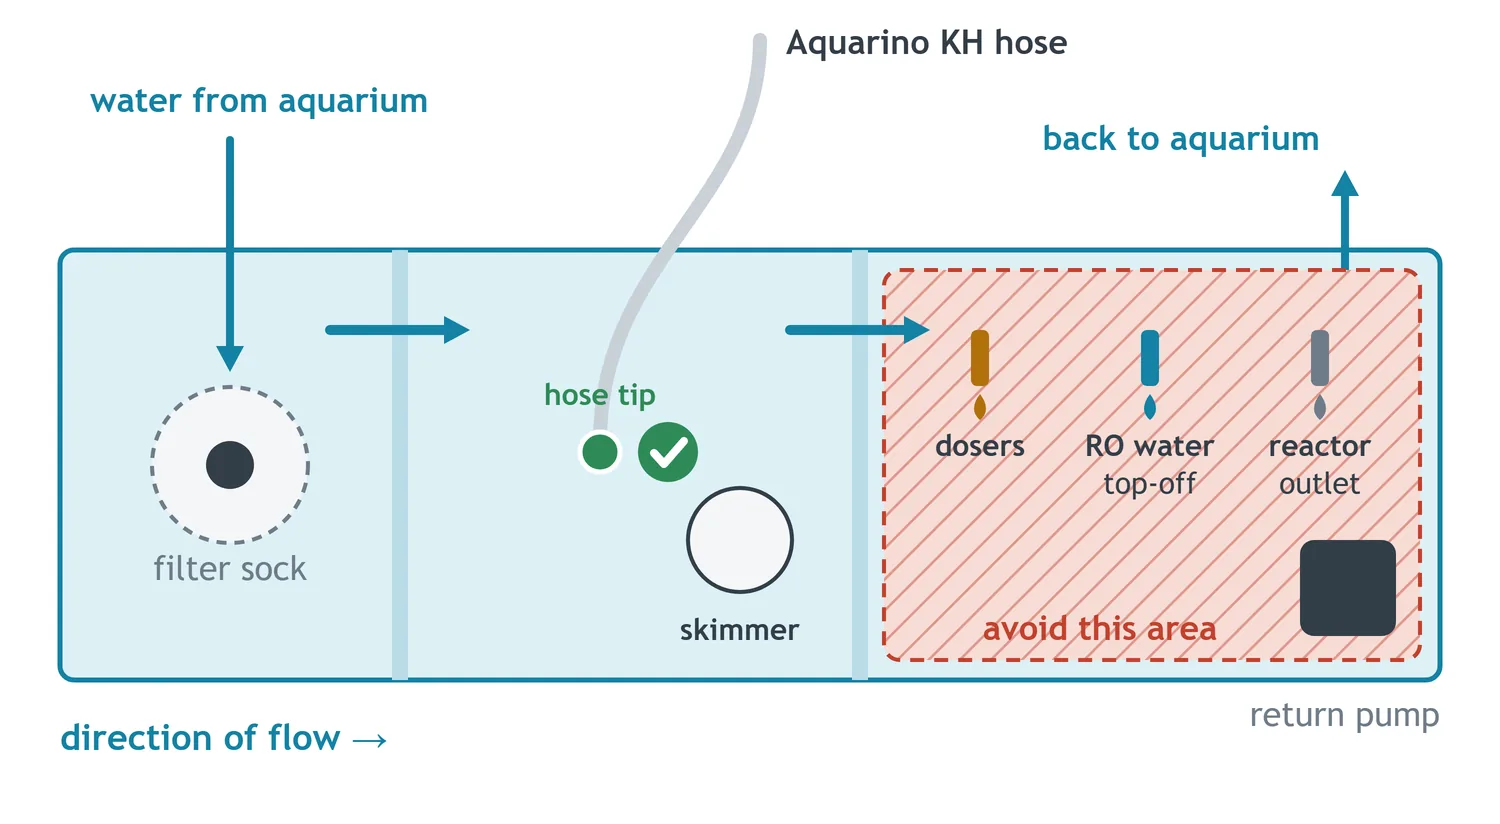
So leave the hose tip before these points, in the direction of flow, and away from them, in a spot with good flow. Also avoid the bottom of the sump, where detritus settles, and the skimmer outlet: organic matter drawn into the equipment affects measurements and fouls the chambers.
Why the position changes the reading
The problem shows up only now and then, which is why it is hard to notice. If the time of a sample happens to coincide with a reverse-osmosis top-off or with a dosing pump switching on, the sample takes in water that has not yet mixed: more diluted, in the case of the top-off, or more concentrated, in the case of the buffer. That one reading falls off the curve, while the others remain normal.