Integrating with other equipment
18.1 The KH-OUT port: KH becomes pH
The Aquarino KH has a side BNC port called KH-OUT. Through it the equipment emits an electrical signal just like a pH probe's — so your aquarium controller reads alkalinity through the pH input it already has, with nothing more than a cable.
| Actual KH | The controller reads | Voltage at the BNC |
|---|---|---|
| 7.0 dKH | pH 7.00 | 0 mV |
| 8.0 dKH | pH 8.00 | −57 mV |
| 8.5 dKH | pH 8.50 | −86 mV |
| 9.0 dKH | pH 9.00 | −114 mV |
| 10.0 dKH | pH 10.00 | −171 mV |
The representable range runs from about 3 to 12.7 dKH, which comfortably covers any reef aquarium.
18.2 Connecting to your controller
- Run a BNC cable between the Aquarino KH's KH-OUT port and your controller's pH input.
- On the controller, create or rename that input to something like
dKHorALK— so you never confuse it with a real pH probe. - Calibrate that input at two points, using the Aquarino KH's simulations (section 18.3).
- Done: the value shown there is your KH.
18.3 Calibrating the port
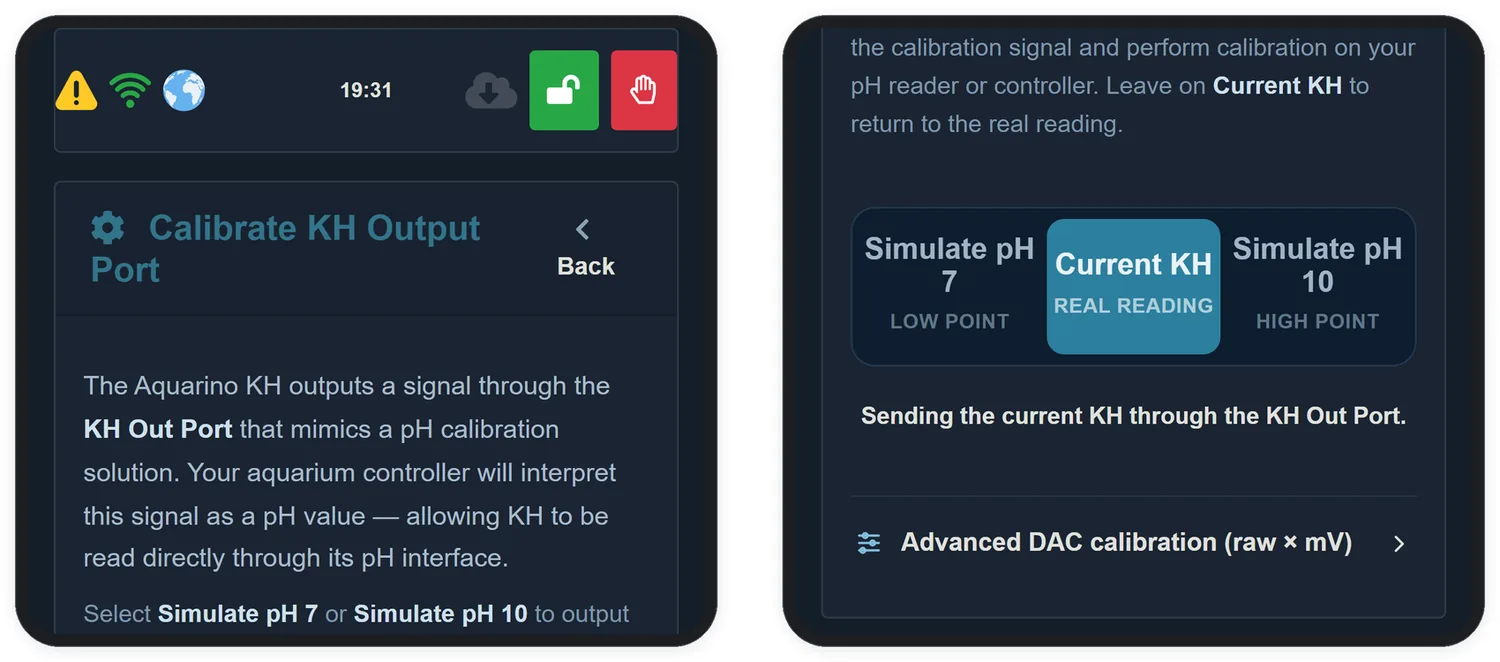
- On the screen, select Simulate pH 7. The Aquarino KH starts emitting that point's fixed signal.
- On your controller, set the low calibration point, entering the value 7.00.
- Select Simulate pH 10 and set the high point on the controller, entering 10.00.
- Return to Current KH so the equipment resumes sending the real reading.
18.4 Compatibility with the controllers on the market
The KH-OUT port simulates the pH 7 and pH 10 points — precisely the pair used in salt water, where pH lives around 8. Practically every aquarium controller calibrates that way, but it is worth checking yours before buying the cable:
| Controller | Works? | Note |
|---|---|---|
| Neptune Apex (Classic, Jr, EL, A3, PM1) | Yes | You type the point values in during the calibration, and 7 + 10 is the pair Neptune itself recommends for salt water |
| CoralVue HYDROS (Control X2, X4, X10) | Yes | Calibrate the 7.01 first and the 10.01 second — the app requires that order — and send the changes at each point |
| GHL ProfiLux (3, 4, 4e) | Yes | The point values are configurable. Mind the resolution: the ProfiLux shows pH with one decimal place, so the KH also appears with just one |
| Aquatronica | Yes | The value you enter has to match the solution being used, and the 7 + 10 pair is one of those provided for |
| reef-pi | Yes | It accepts one-, two- or three-point calibration, with the values typed in by you — and it already comes with 7 at the mid point and 10 at the high one |
| Reef Angel | Yes | PHMin 7 and PHMax 10 are the default. Restart the controller after saving |
| Vertex Cerebra | Yes | Two BNC pH inputs, calibrated with the 7.01 and 10.01 solutions |
| Marine Assistant | Yes | A build-it-yourself controller with a BNC input; you choose the value of each solution during the calibration |
| IKS Aquastar | No | It identifies the solution on its own and recognises neither pH 9 nor pH 10 — its calibration is done with pH 4 and pH 7 |
| Aqua Medic AT Control | Check | The solutions in the Aqua Medic line are 4, 7 and 9 — there is no pH 10 among them. Confirm on your own module before counting on the integration |
18.5 Creating rules on your controller
With the input calibrated, the rule is written on top of the pH number — which is your KH. If you want to act below 7.5 dKH, the condition is pH lower than 7.50.
| Controller | Where you create it | Example |
|---|---|---|
| Apex | Configuration → Inputs to name the input, and the programming of the output | If dKH < 7.50 Then ON to trigger an extra dosing boost |
| HYDROS | Outputs, with the Calcium Reactor type pointing at that input | The off and on band for the CO2, around the desired KH |
| ProfiLux | Switch Channels and Outlets, pH-value function with Control Upwards or Downwards | Nominal value at the target KH, with whatever hysteresis you prefer |
| reef-pi | In the input's pH tab, with limits and hysteresis tied to a piece of equipment or to a macro | A macro that cuts the CO2 when the value goes past the upper limit |
| Reef Angel | In the sketch code | if (ReefAngel.Params.PH < 750) ReefAngel.Relay.On(Port2); |
18.6 Integrating with the Aquarino Controller
If you have an Aquarino Controller, the integration is direct and needs no cable:
- Open your Aquarino Controller in the app.
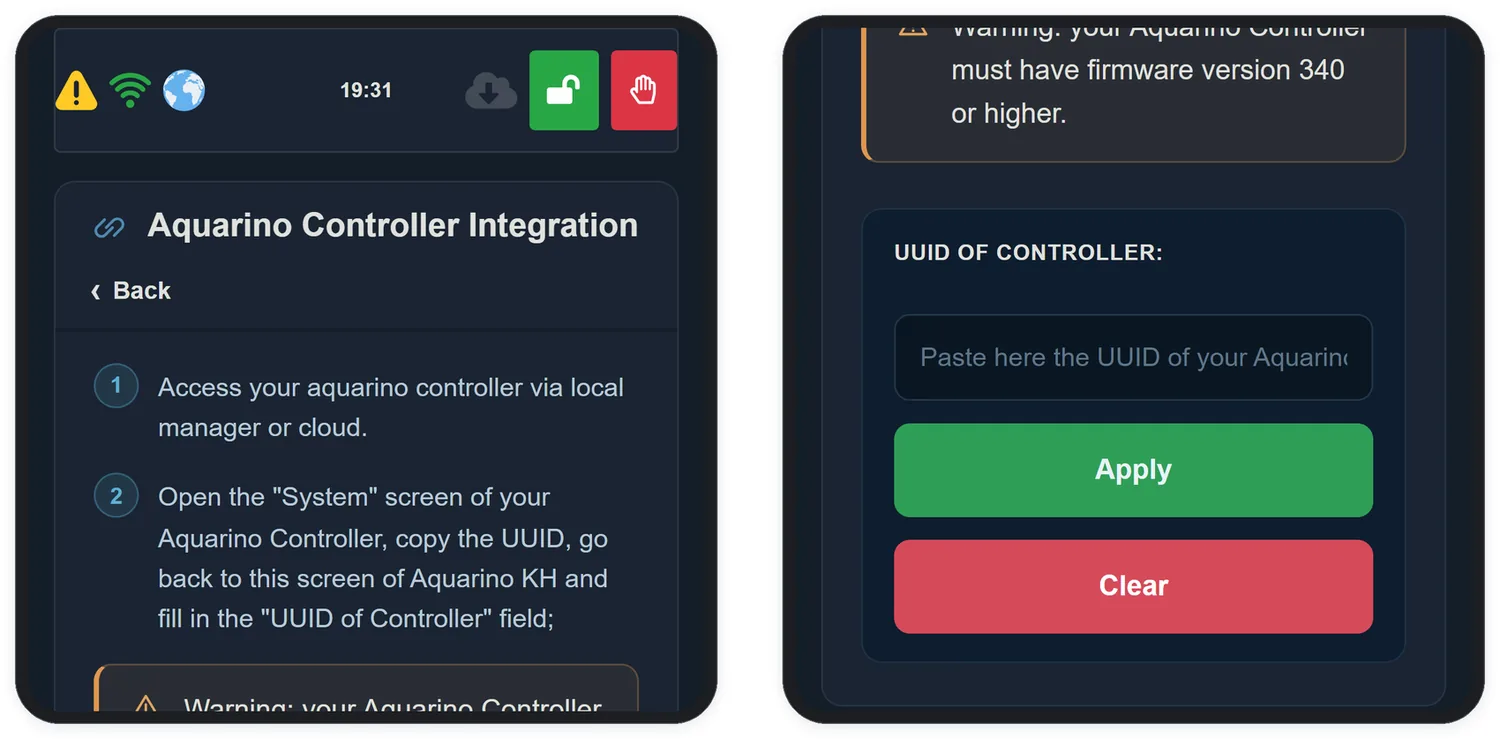
- Go to the Controller's System screen and copy the UUID.
- Return to the Aquarino KH, under Configuration → Aquarino Controller Integration.
- Paste the value into the Controller UUID field and tap Apply.