Download PDF
Aquarino KH — User Manual · Printed from manual.aquarino.com.br/en/kh/first-start-up/
First start-up
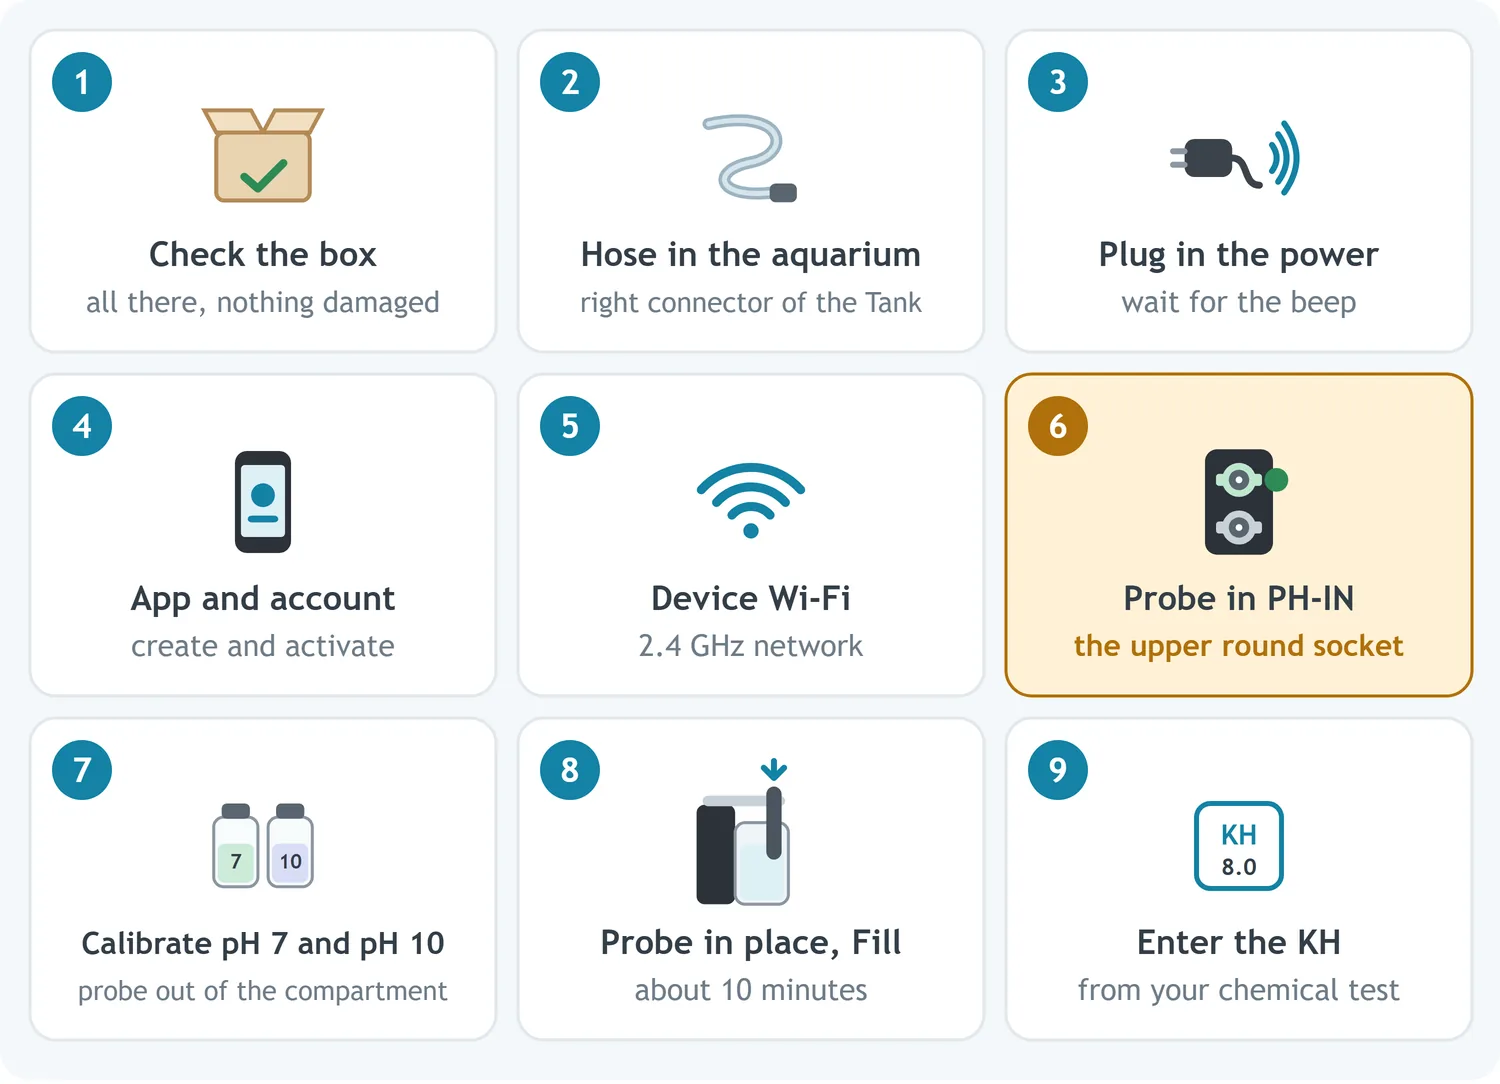
The short route, from the box to the first measurement. Nine simple steps, in this order. The details of each one are in the chapter shown — look them up only if you need to.
1 · Check the box
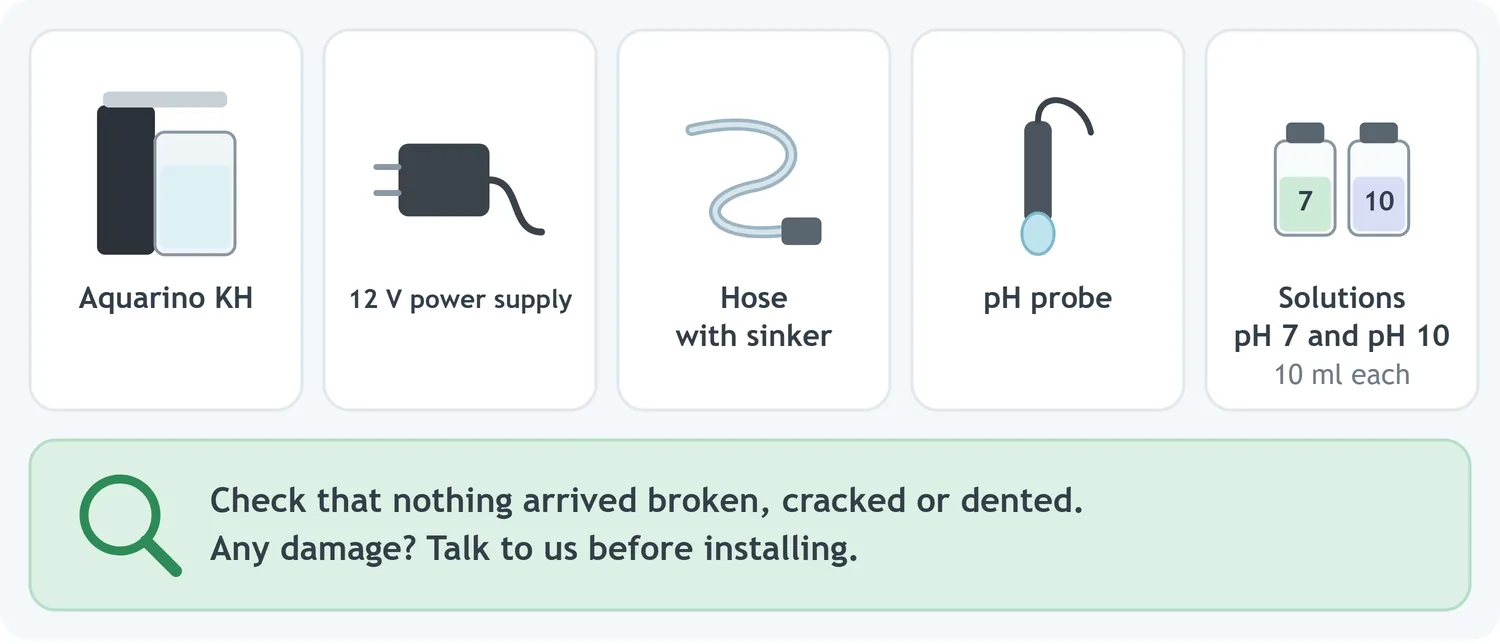
Check that you have the equipment, the power supply, the hose with sinker, the pH probe and the two calibration solutions. Also make sure nothing arrived broken, cracked or dented. Spotted any damage? Talk to us before installing. Details in Chapter 1.
2 · Hose in the aquarium
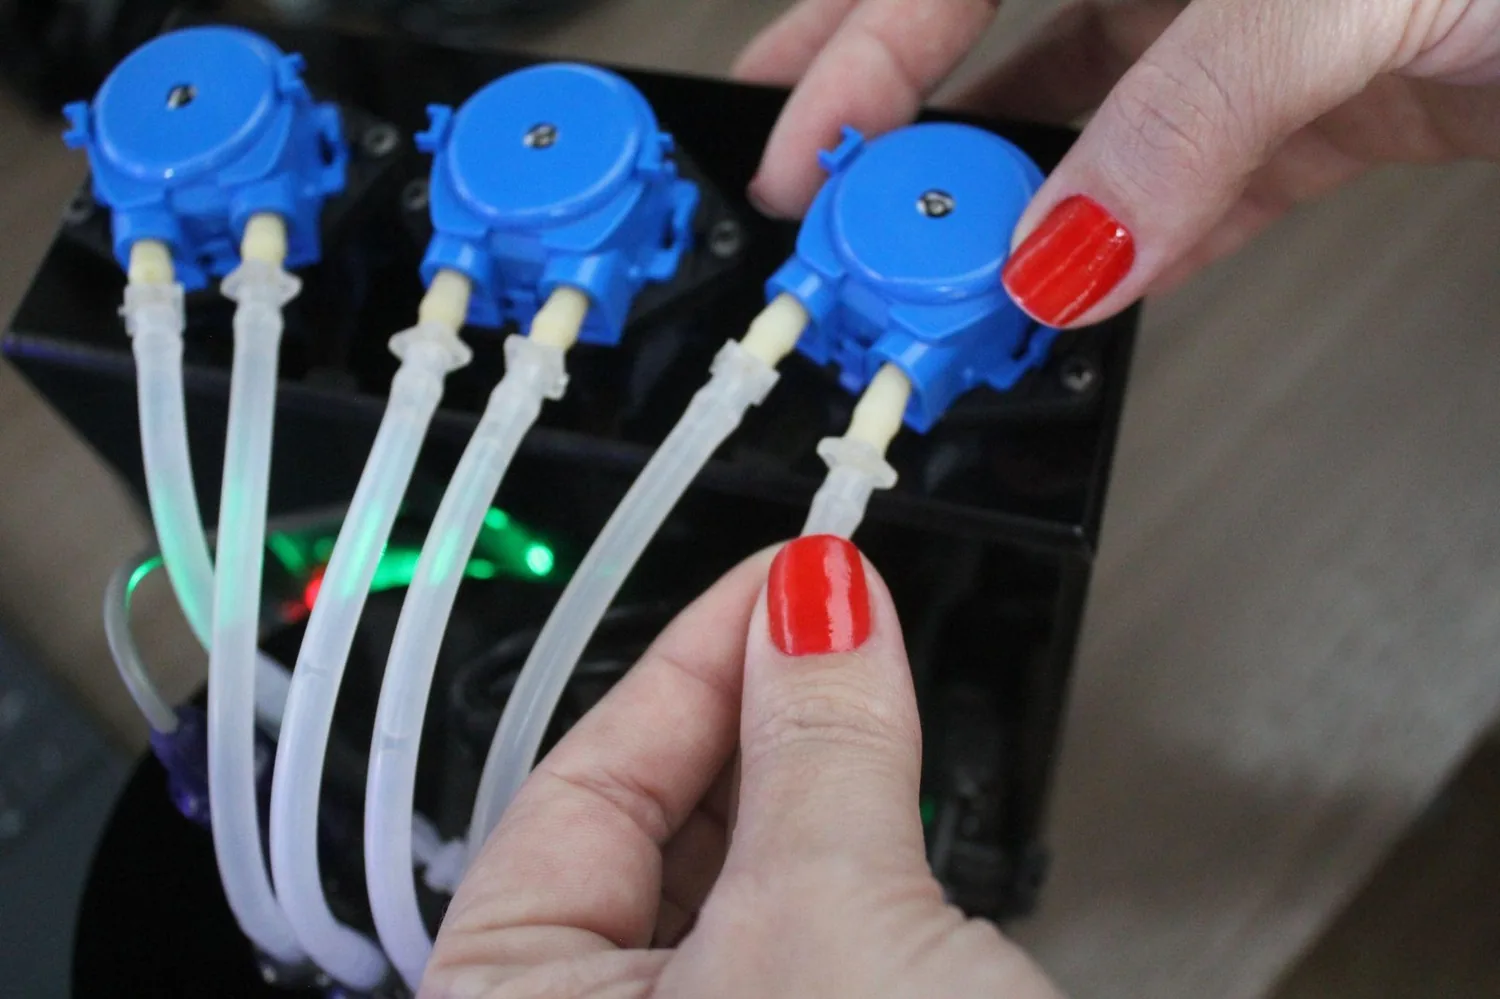
First, choose the spot: no direct light on the equipment and away from the chiller. Then connect the hose to the right-hand fitting of the Tank dosing pump and place the end with the sinker in the aquarium or sump, away from the dosing point and from detritus. Details in Chapter 2.
3 · Plug in the power supply
Plug the power supply into the wall socket and into the 12V DC connector on the panel. Wait for the beep: it is the signal that the equipment has started. Until the first fill, the colour LED on the panel keeps cycling through colours — that is normal.
4 · App and account
Install the Aquarino app from your phone's app store, tap Create an account and activate the account with the 6-digit code that arrives in your e-mail. Details in Chapter 3.
5 · The equipment's Wi-Fi
In the app, add a device and choose Aquarino KH. Wait for the Wi-Fi LED to blink (it can take up to a minute after the beep), connect your phone to the temporary network AquarinoKH and, when the phone warns that it has no internet, choose to stay connected. Then enter your Wi-Fi network name and password — the network must be 2.4 GHz — and do not leave the screen during the countdown of about five minutes. Details in Chapter 3.
6 · Connect the probe to PH-IN
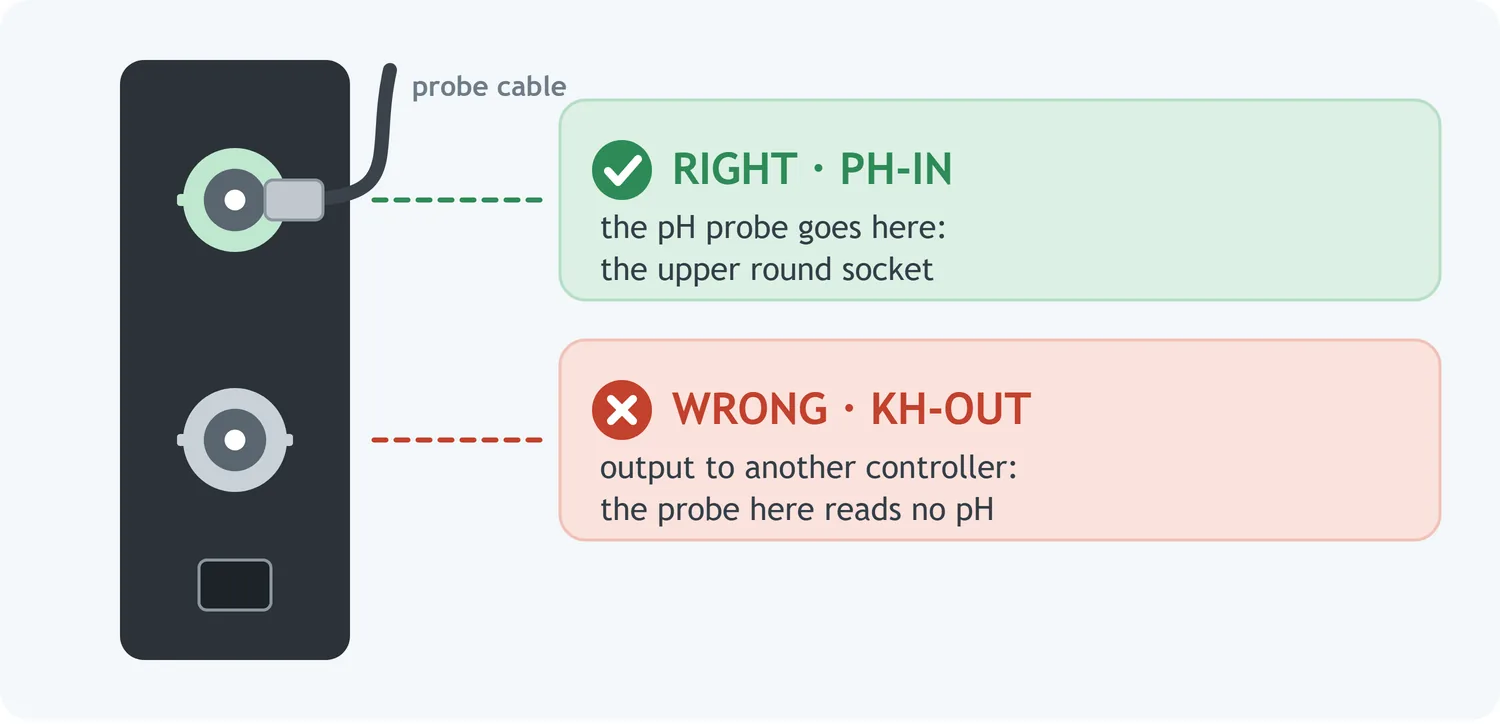
Connect the probe cable to the PH-IN input, the round input at the top of the panel. Details in Chapter 4.
Remove the cap only when you are about to calibrate, in step 7: the probe must not stay dry for more than 30 minutes.
7 · Calibrate the probe: pH 7, then pH 10
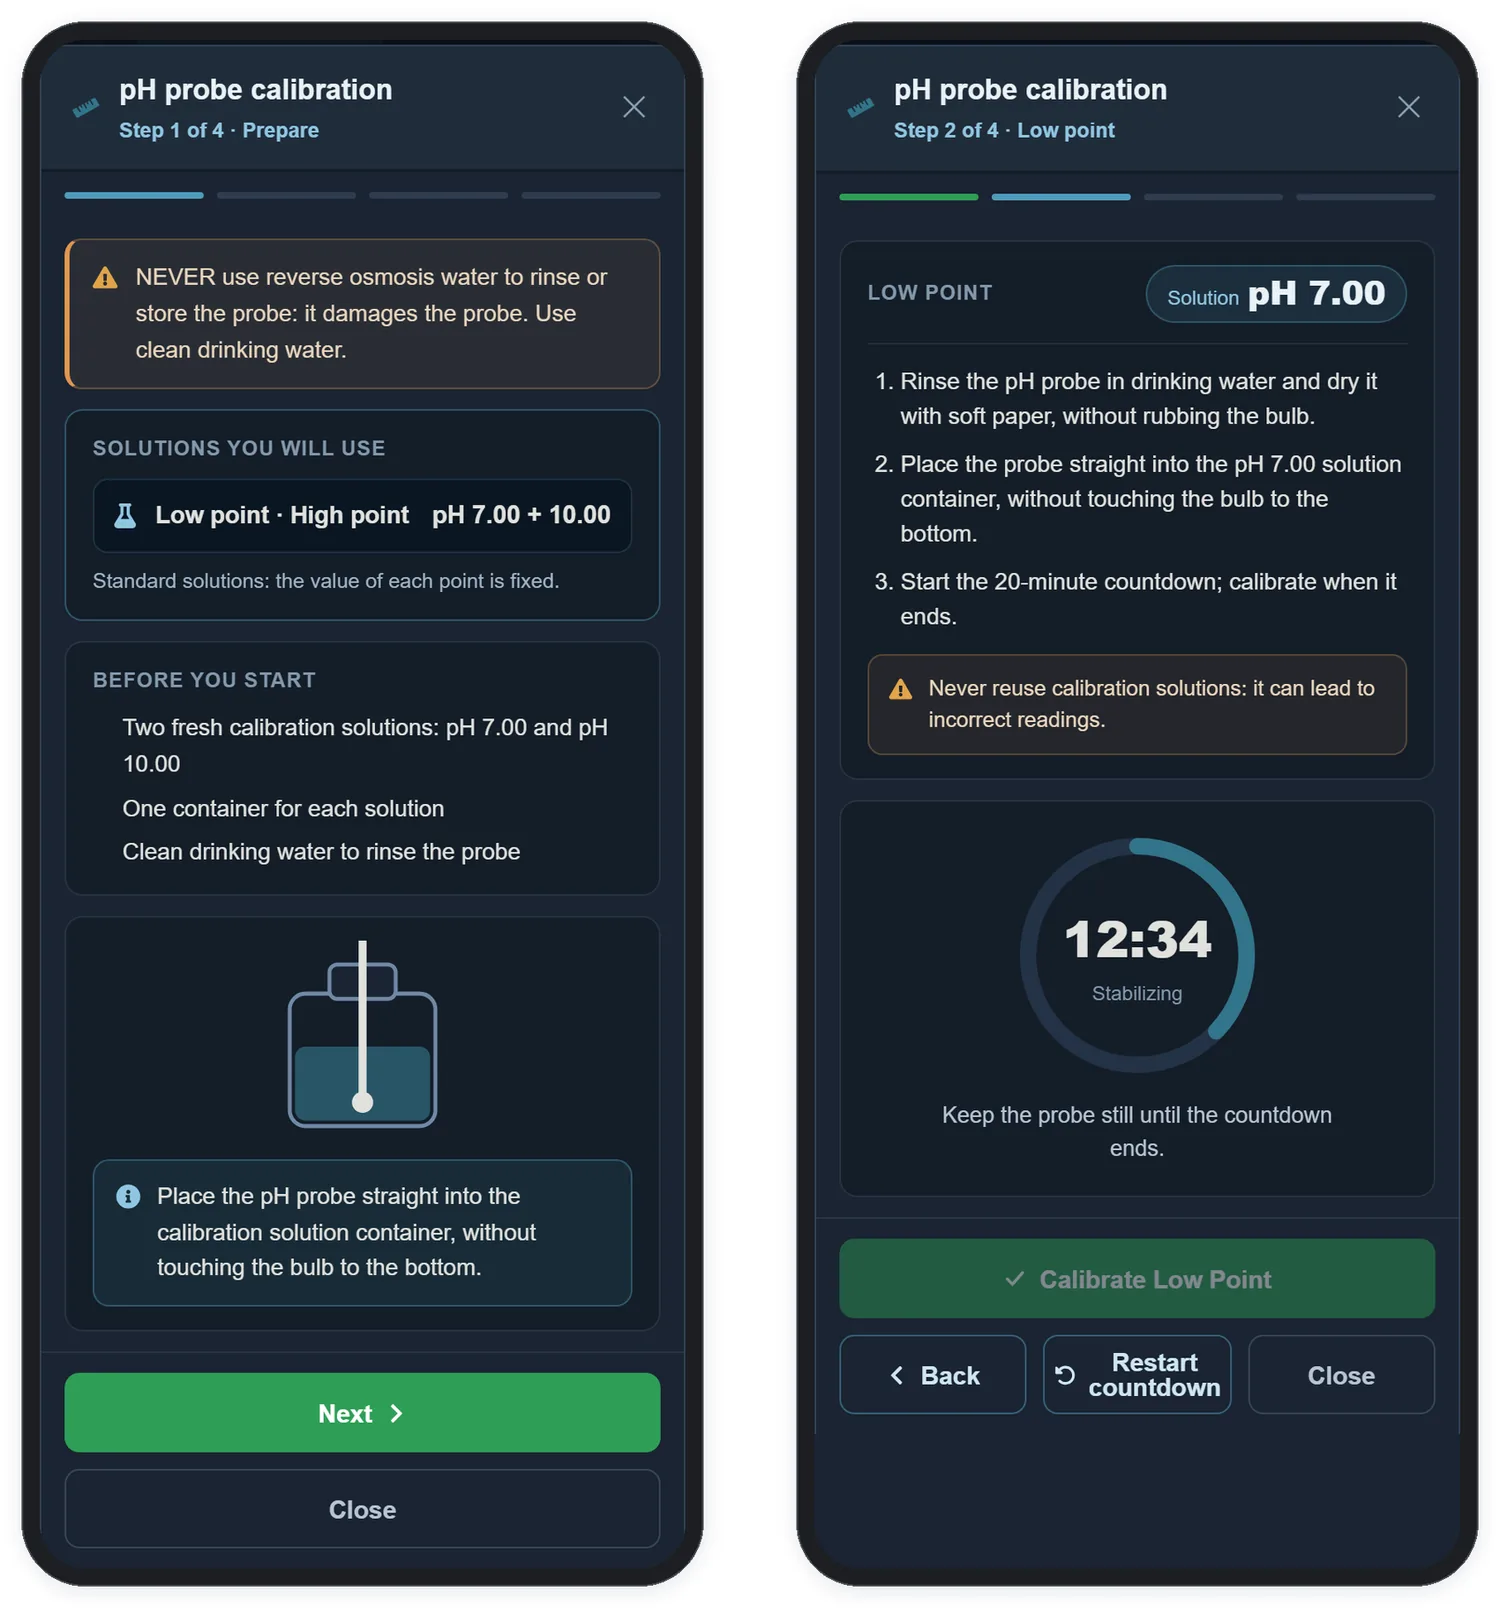
With the probe out of the measurement compartment, still connected to PH-IN, open Configuration → pH Probe → Calibrate probe. The wizard guides you through it all: first the pH 7 solution, then pH 10. Set aside about 50 minutes. Details in Chapter 4.
8 · Probe in place, then Fill
Place the probe in the measurement compartment. Then, under Configuration → Reservoirs, tap Fill. The equipment draws water from the aquarium and gets itself ready, in about 10 minutes. Details in Chapters 4 and 5.
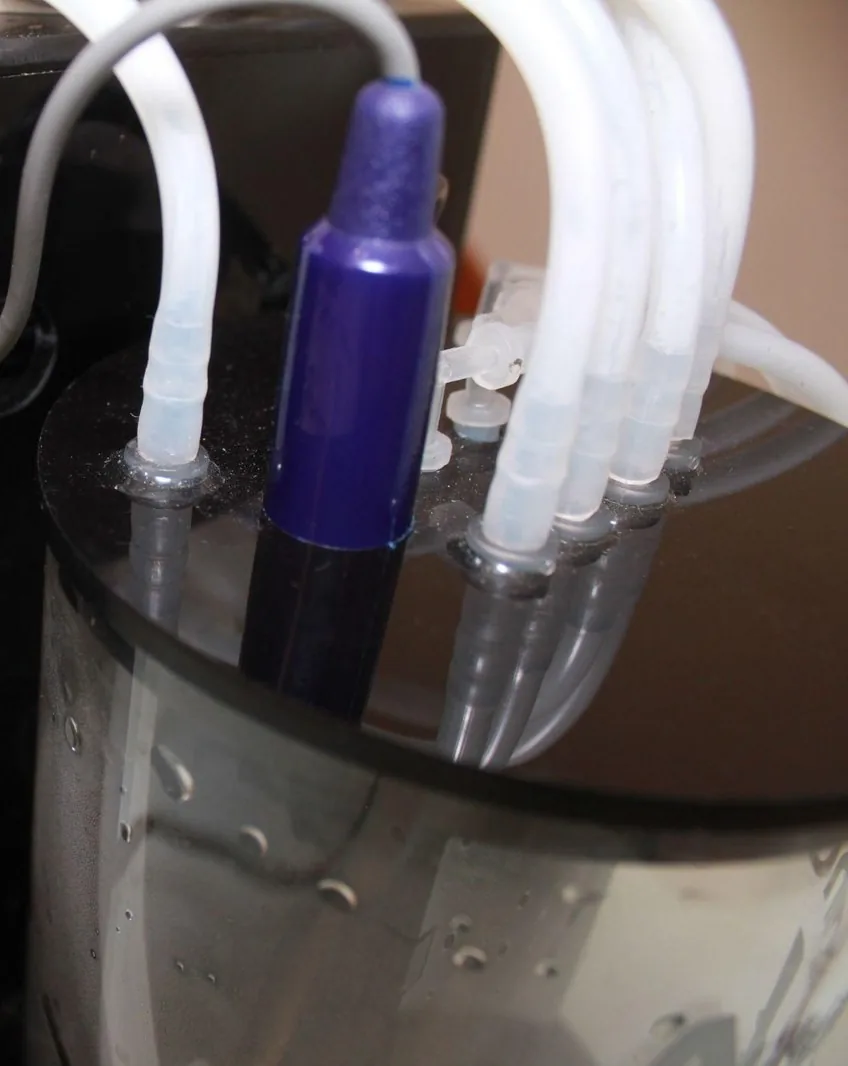
With the equipment full, check that both chambers foam about the same. The airflow valves leave the factory already adjusted; if one chamber foams much less than the other, see section 20.2.
9 · Enter your aquarium's KH
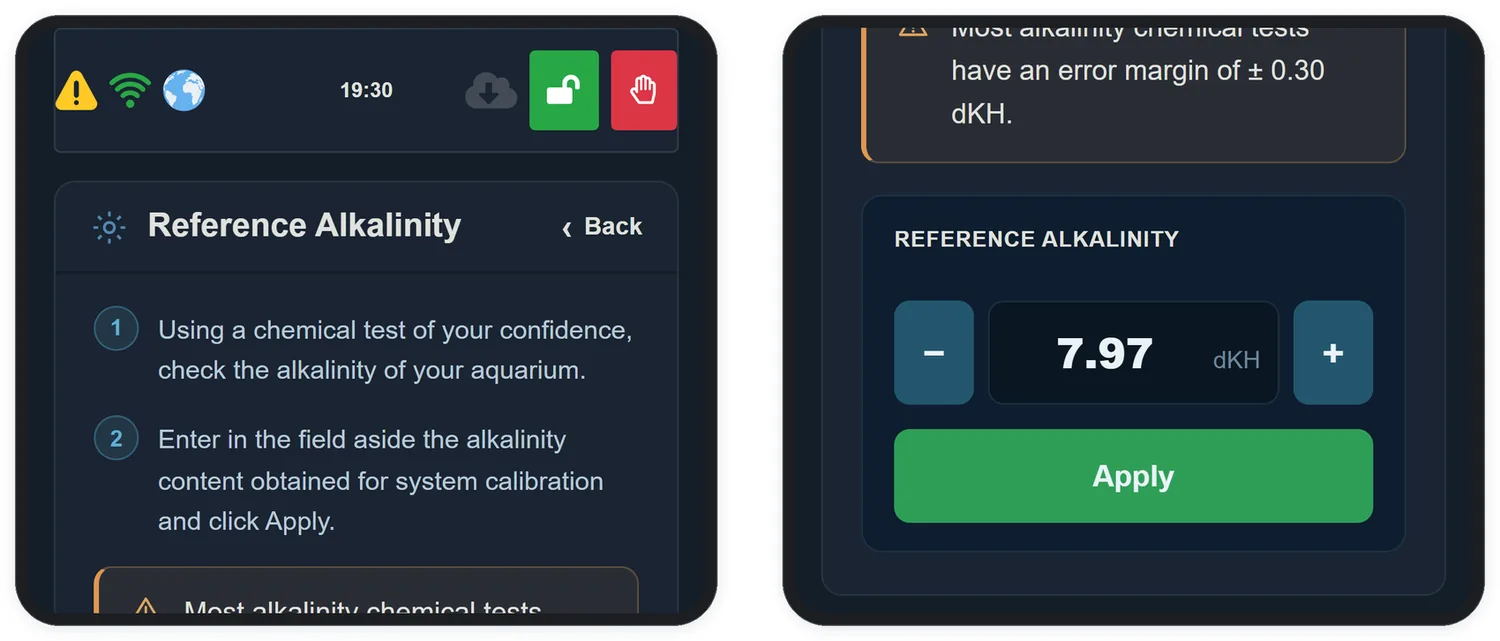
Measure your aquarium's KH with your chemical test. Under Configuration → Tank Alkalinity, enter the value and tap Apply. That is it: the Aquarino KH starts measuring. Details in Chapter 5.